Sample received for review purposes. All opinions are my own.
I have wanted to try a teeth whitening product for a while now. I used to drink a lot of coffee, which I replaced with a tea addiction, and also used to be a smoker. I have had a tooth on the bottom that has been very stained for a long time and my teeth in general are stained. It is something I am very self-conscious about it and aware of every time I smile.
I really wanted to talk to my dentist about professional teeth whitening, but continued to put it off because I knew it was something I could not afford. Teeth whitening from the dentist costs between $300 and $1000.
Here is where Smile Brilliant comes in. They offer a professional teeth whitening product, with custom fit trays that you can use at home when it’s convenient for yourself, and all for a fraction of the price that your dentist would charge.
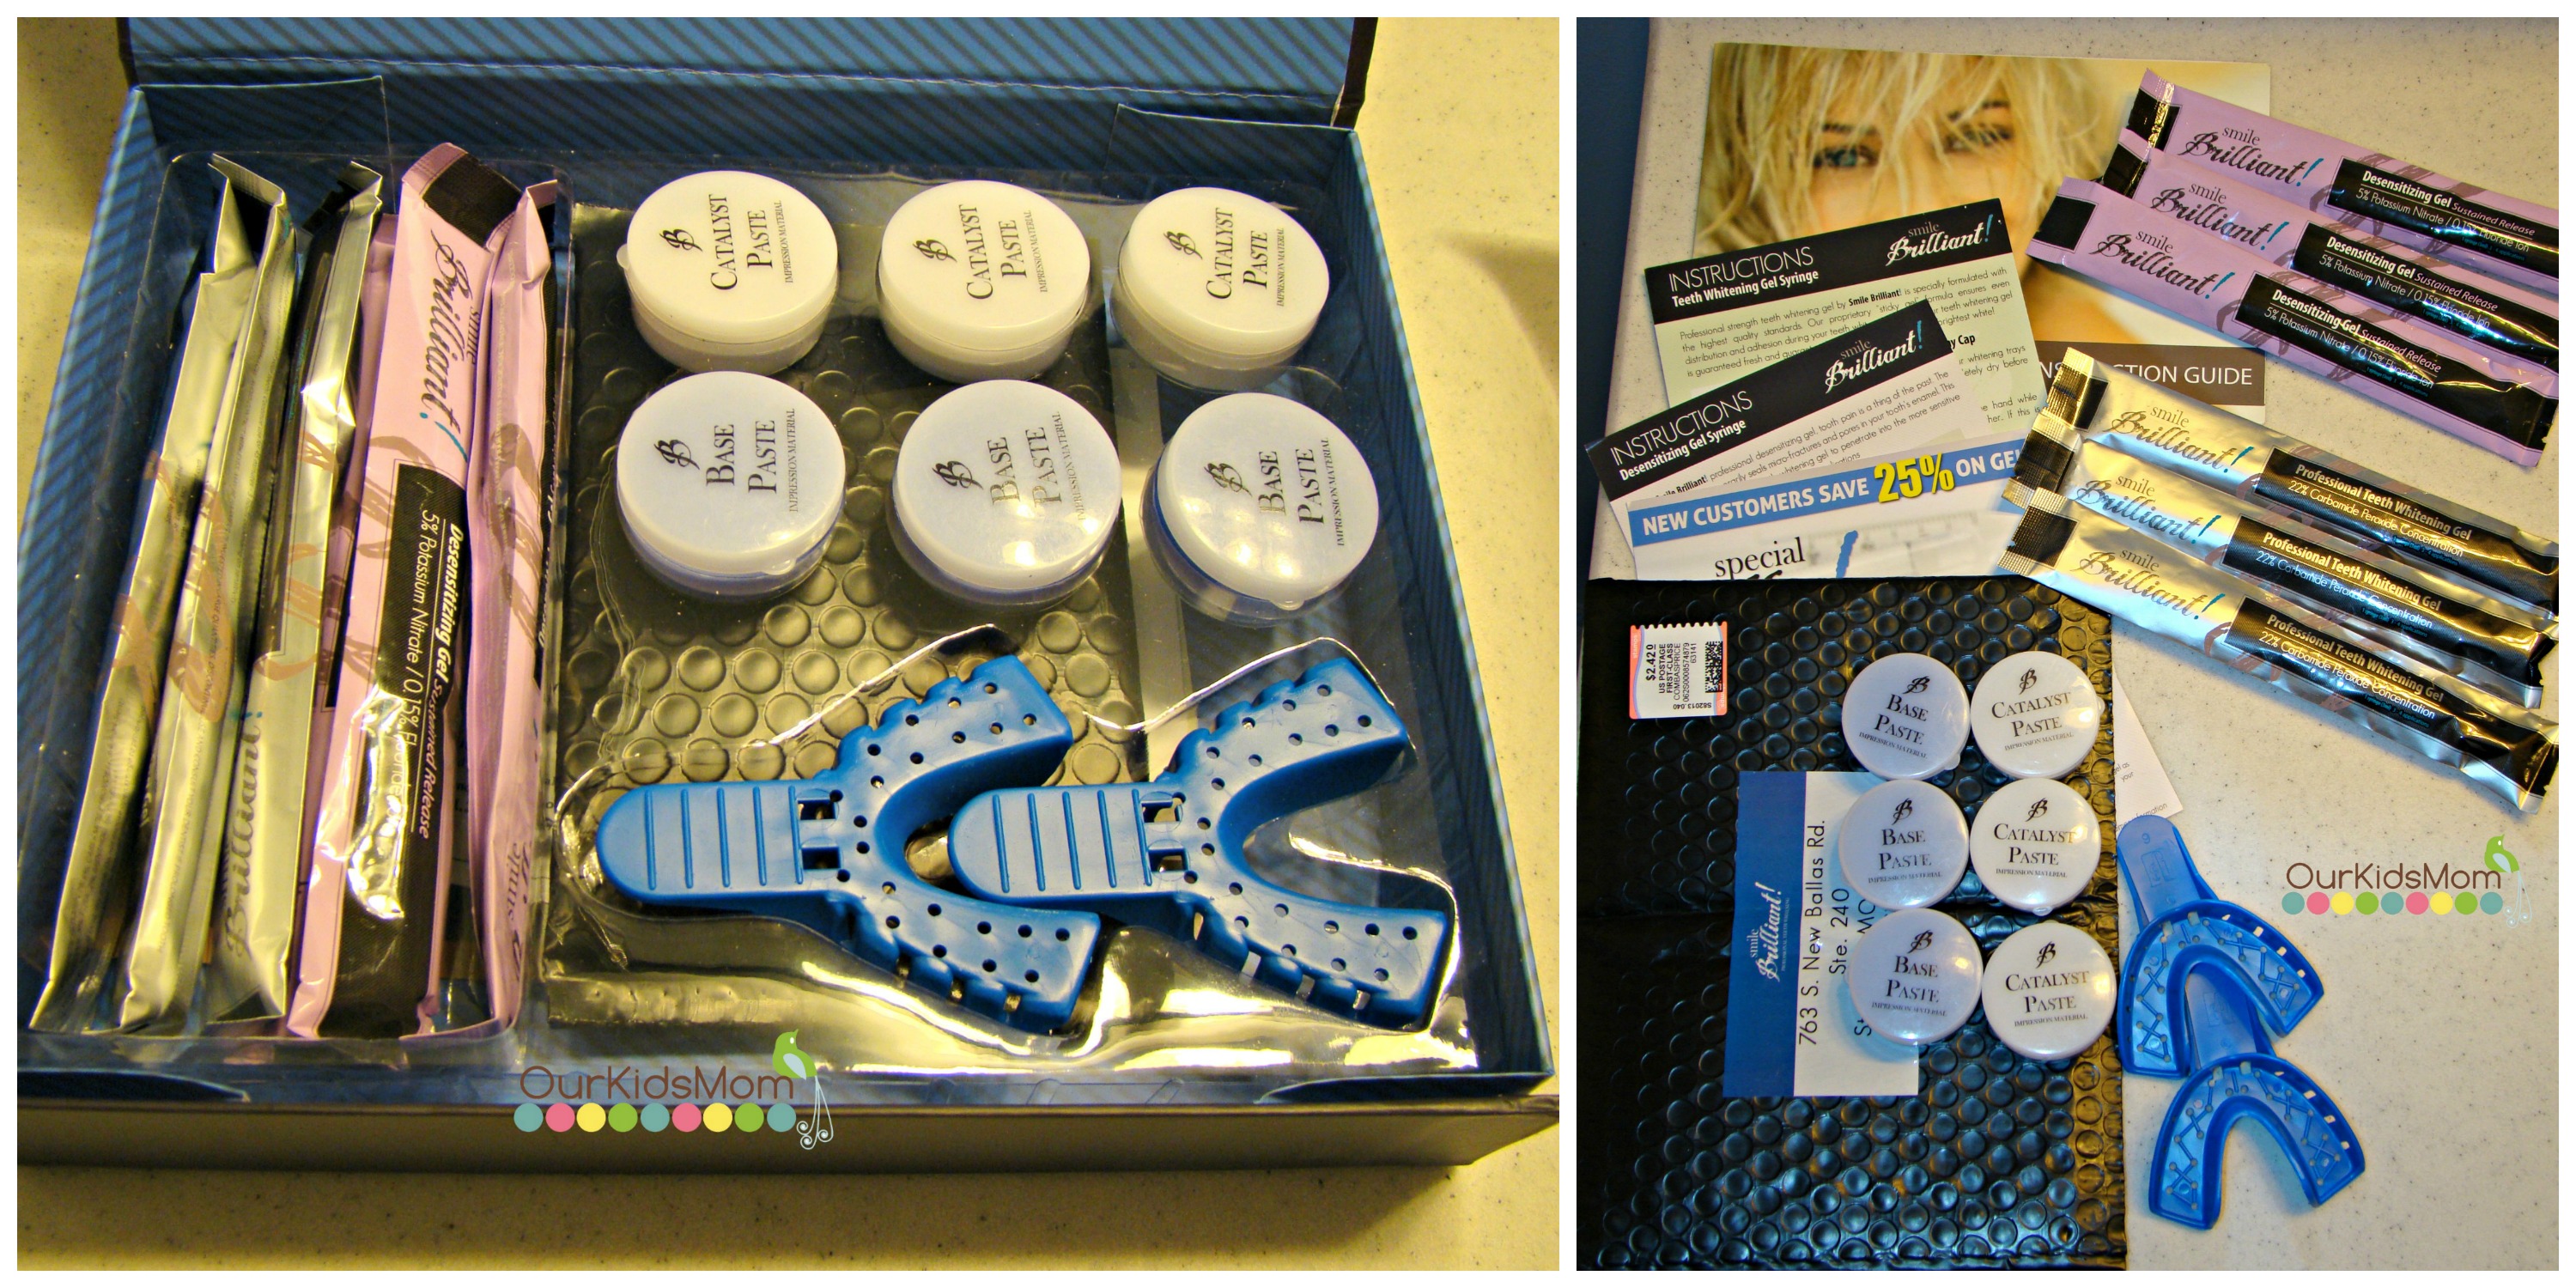
When I received my Smile Brilliant kit in the mail, I could not wait to get started. Everything you will need is shipped to you in an organized box. The kit includes three Base Paste and three Catalyst Paste (used to make your teeth impressions for your custom trays), the trays for making your teeth impressions, desensitizing gel, whitening gel, a self addressed postage paid envelope to send your impressions to the lab, and clear instructions for each step of the process.
After taking some time to read the instructions, I decided to make my teeth impressions. To be honest, I was a little worried I was going to mess it up, but just reminded myself that was why they sent three sets of materials.
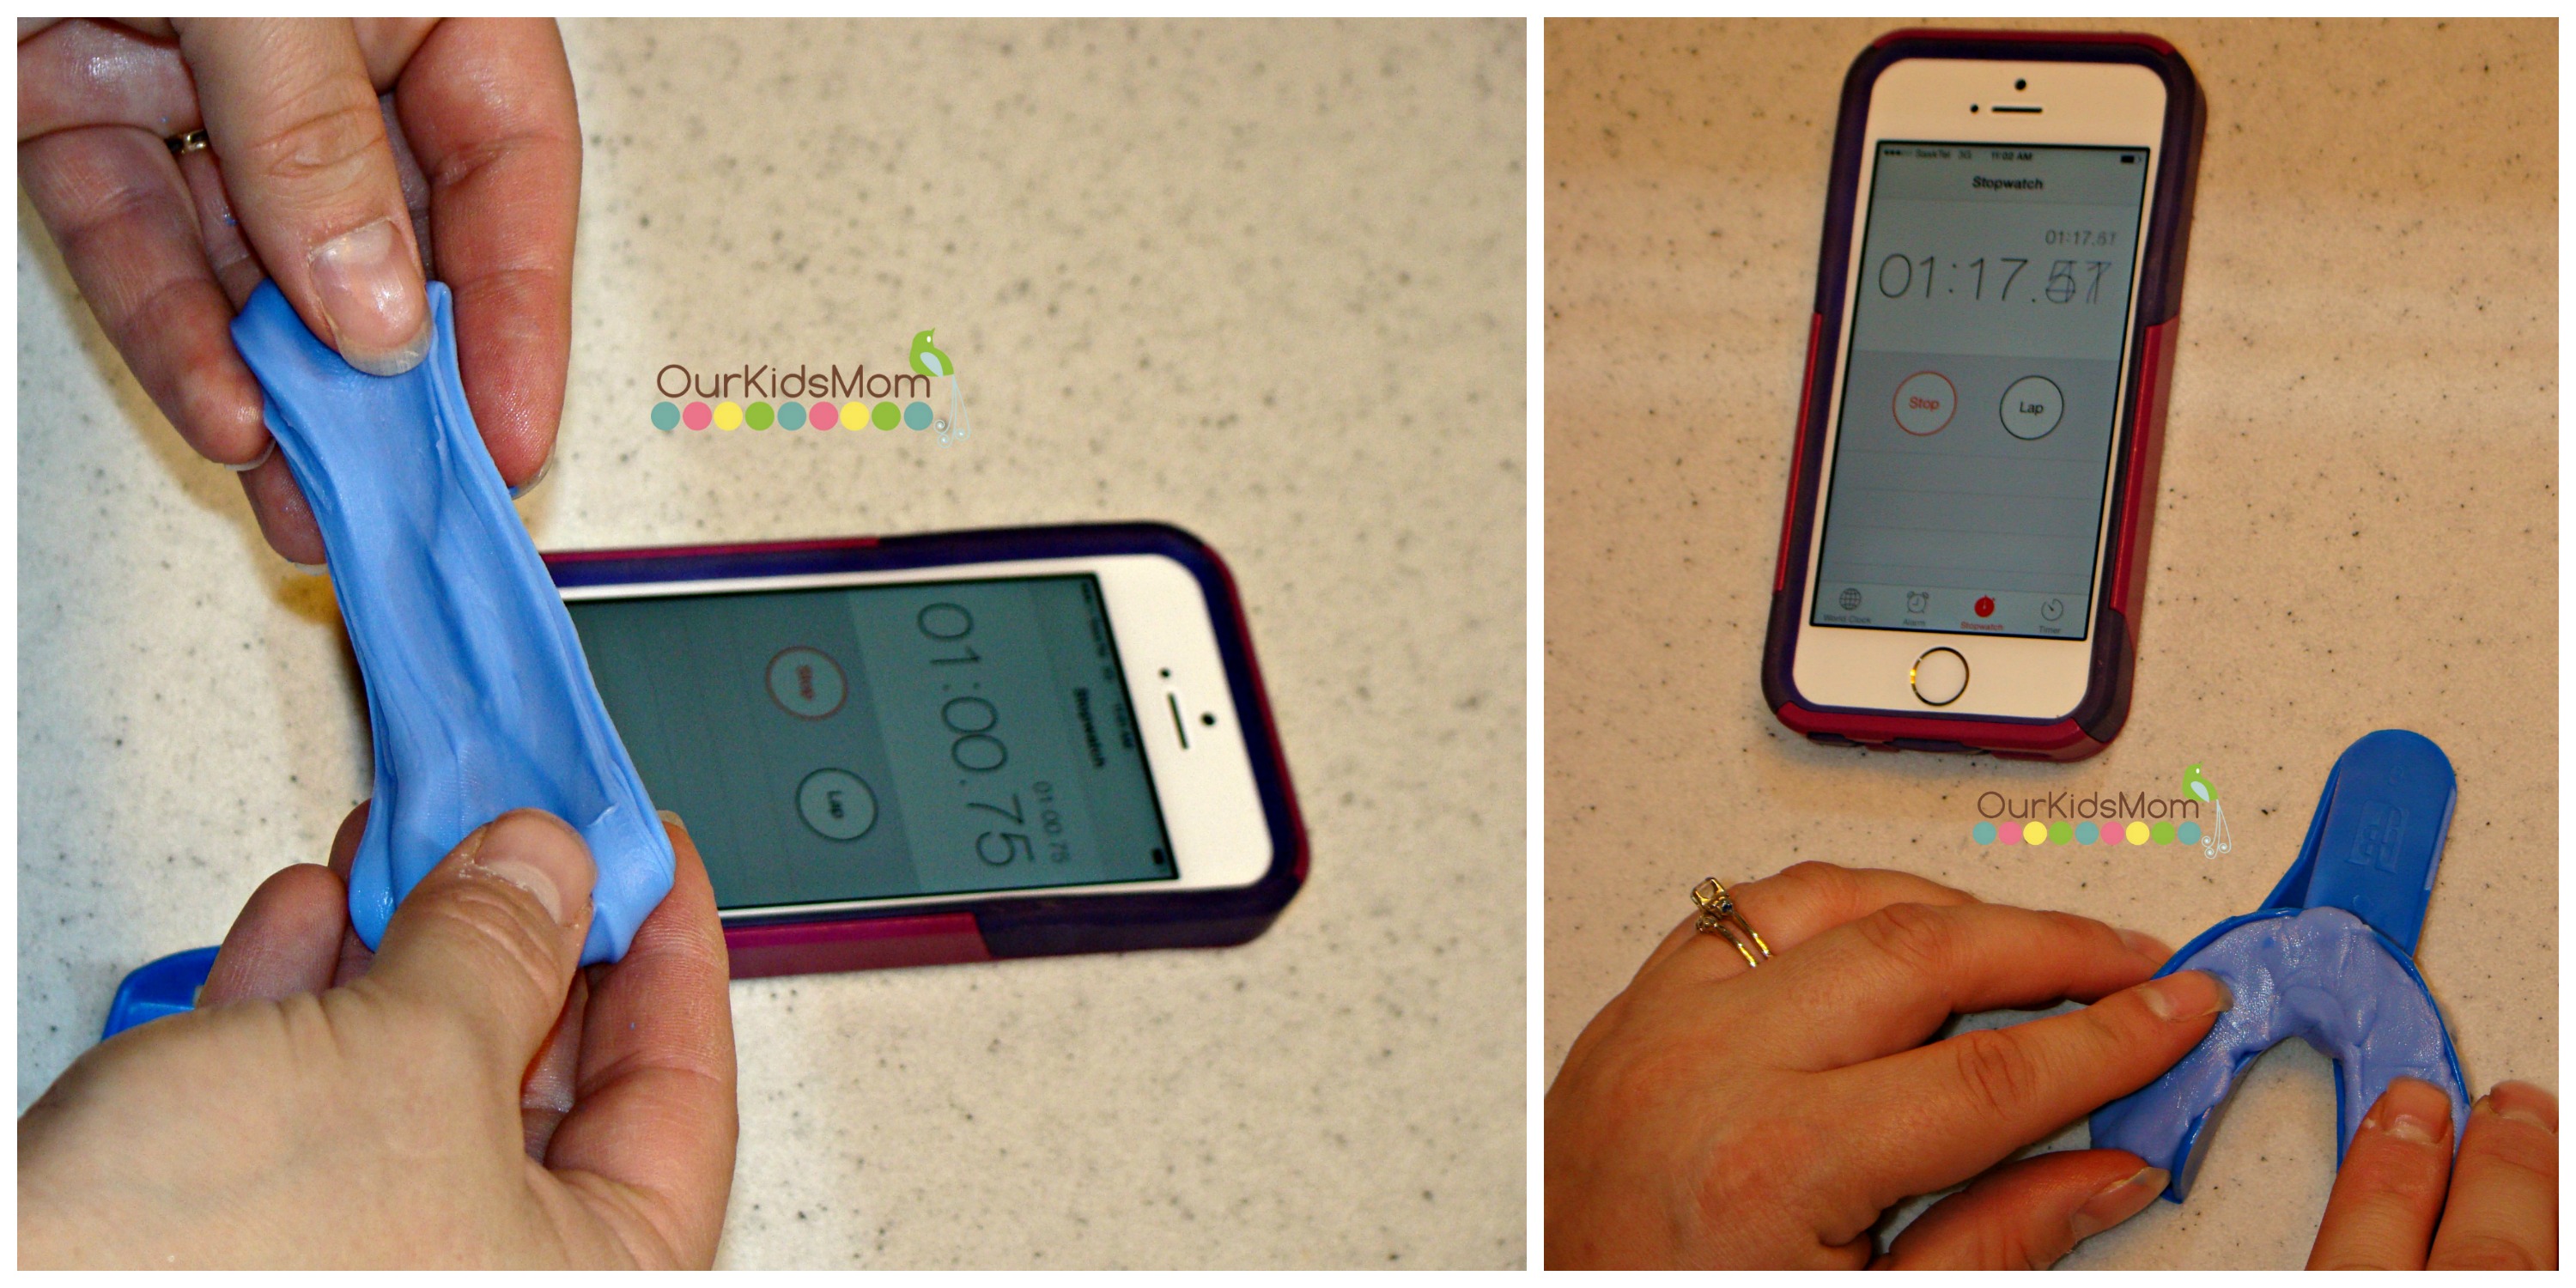
I will assure you right now that my worry was not necessary. The first thing I did was brush and floss my teeth and then get everything set up. You are going to want to make sure that you have a stop watch or watch with a second hand when you are doing this. The steps are time sensitive.
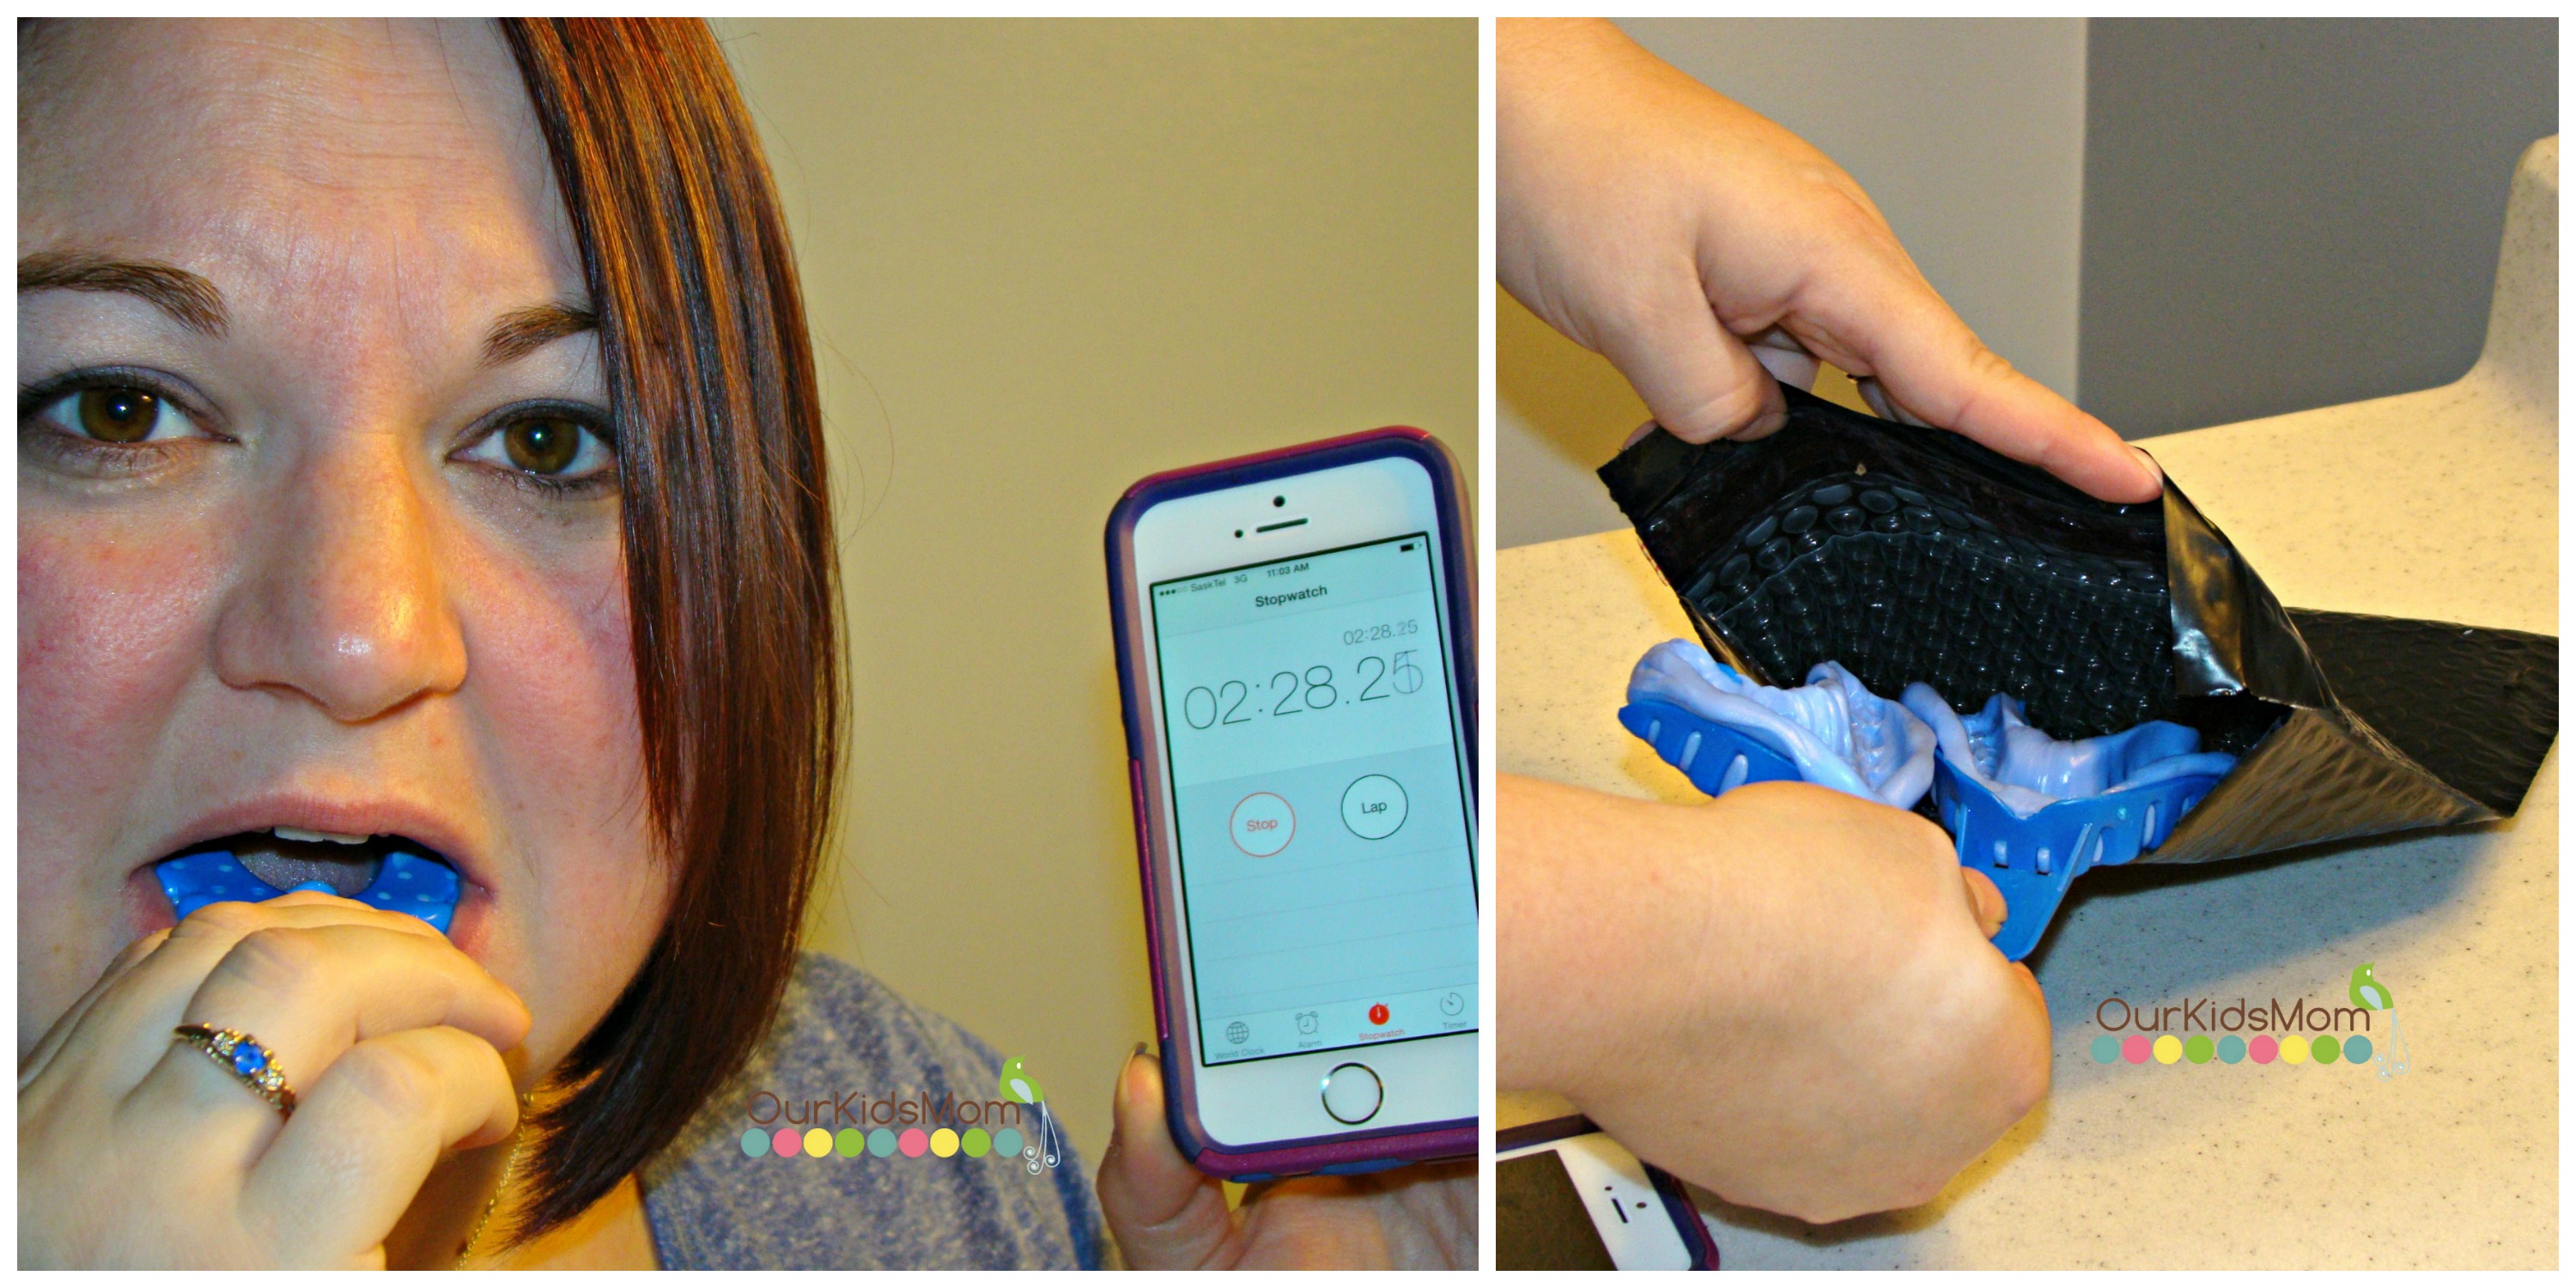
The next steps are simple to do, but happen relatively fast. I mixed the two pastes together, placed it in the supplied trays and then pressed it onto my upper teeth, making sure to center my teeth in the material. I used a mirror to help me see where my teeth were going to line up. You need to hold it there for a couple minutes to let the material become more solid then remove it.
Repeat all the steps for the bottom teeth and you’re impressions are ready to be sent to the lab. Fill out the included information card and put it along with your impressions in the envelope and mail it off. Super easy.
The lab was quite quick in getting my custom trays made and sent to me.
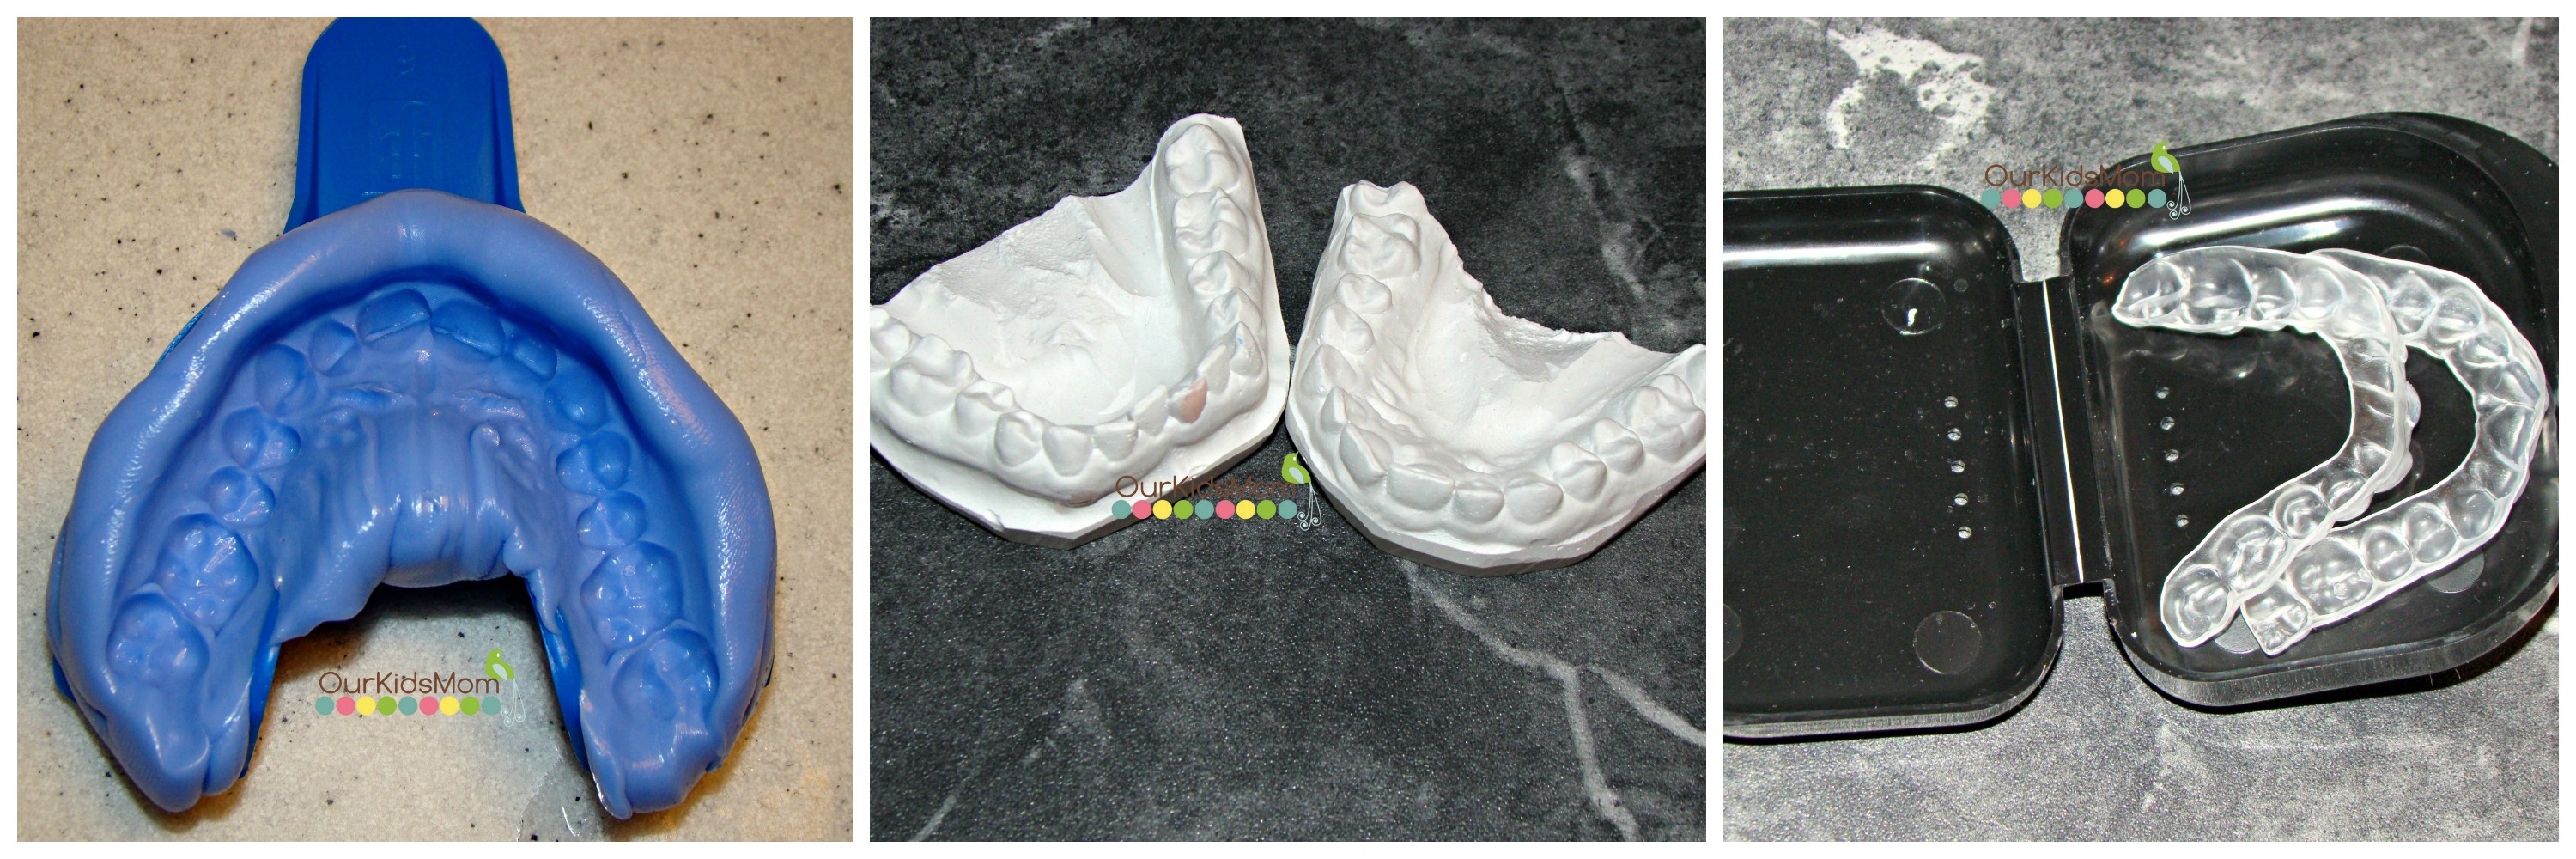
The first thing I noticed was how thin they are. When I had read that you could wear the trays for up to three hours, I was skeptical. I did not think that I would be able to stand wearing them for that long.
Once I saw them in person and tried them on, I understood. They are very comfortable and stayed in place really well. I really only notice them if I start to bite down or when I talk. It is not at all difficult to talk with the trays in, but it does give me a slight lisp.
I decided to skip the desensitizing gel, as my teeth are not particularly sensitive. It is an option if your teeth are sensitive to the whitening product. You can use your custom trays to apply the desensitizing gel and it fills the pores in your teeth so the whitening process does not cause discomfort.
The gels come in a syringe that makes it very easy to work with. I squeezed a line of the whitening gel along the front edge of my custom tray, (as there is really no need to whiten the back side of my teeth), then placed the tray on my teeth. You then need to wipe off any overflow of gel from your gums.
I really loved that I could now go about my everyday tasks at home while whitening my teeth. I found it easy enough to get a full three hours of use after supper. I could also get a couple hours of use in the morning while I was getting myself ready for work and the kids ready for school.
It is recommended that you use the whitening product for 45 minutes – three hours. It is so convenient to use and fit into your schedule at a time that works for you. I appreciated that I did not need to make an appointment with my dentist and have to work around that.
Now for the results. I am extremely happy with the results from my use of the smile brilliant system. All my teeth are brighter, but most of all, the badly stained tooth I had on the bottom is hardly noticeable at all.
I have used had six treatment sessions now, and will continue to use it until all the staining is gone. I can continue to use the product for maintenance so that I never have to be embarrassed by my teeth again.
I am much more confident when I smile now, and that is something I really didn’t think would ever happen. I really wish I would have tried this system years ago.
There are a few helpful facts I have learned about the Smile Brilliant system.
First, the whitening gel does not change the color of your teeth at all. It works by removing all stains and returning your teeth to their natural color. On average it takes between five and seven applications to remove all the stains, but that number can vary depending on the severity of the staining.
Another great thing about this is that the gel has a TWO YEAR shelf life in the fridge. That means I am not having to throw out expired gel or place frequent orders for maintenance.
Orders are so easy to do whether you are ordering the whole Smile Brilliant Professional Teeth Whitening system, or just need to order some more gel.
You can order your own kit online through www.smilebrilliant.com for only $119.95. There is a customer service live chat available to help with any questions you may run into.
Connect with Smile Brilliant:





Huge difference –wow! I drink a lot of coffee and I should definitely get this!
I need my teeth to be whiter. This kit seems easy to use and it also seems to work.
This made a big difference in your teeth. I don’t think it would work on dentures.
although this stuff is a pain in the butt because you have to take sculpts and send them in it’s so worth it and it really does work!
Wow this stuff works pretty well, I can see a huge difference in the before and after, looks like a high quality teeth whitening kit.
I could really use a kit like this! And it looks like it worked really well!
Having a white smile is extremely important to me and I love the ability to achieve one at home in my spare time!