Spring Home Makeover with Pergo Laminate Flooring

A couple of weeks back I was telling you how we had to pull up our existing floor for foundation repairs. Because we were starting from scratch with the floor again, we decided to go shopping for Pergo. We loved the ease of installation and with the kids and pets, the quality/scratch resistance was a huge plus.
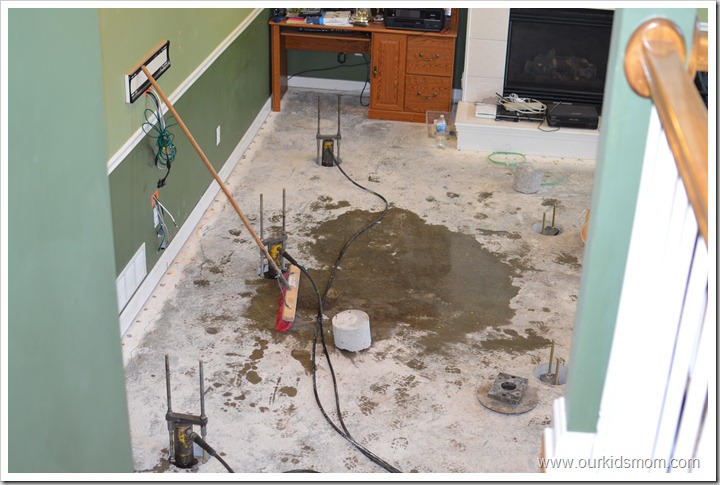
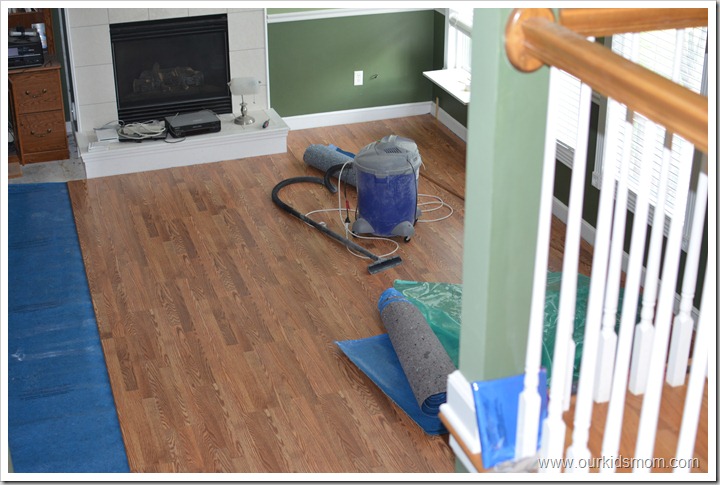
Our “two day” foundation repair turned into a six day job (I will post more about that later). Once everything was cleaned up, the company was paid and we took a big breath and sighed… we had to wait for the cement to cure. We had five large holes from the piers and six smaller ones they mud jacked through (the picture below was taken as they were lifting the front three piers), so our wait lasted a couple of days.
Because of my husband’s work schedule (and life), we had to wait a few days extra, but the day finally came to start installing the Pergo. The instructions were very simple and easy to follow. Because of the concrete slab, we had to put down a moisture shield to prevent moisture from the ground seeping through and warping the Pergo from below. Once that was cut to size and put into place, the Pergo came next.

The dark blue is actually an extra item we purchased to use with the installation. The Pergo itself has padding already adhered on the backside. Because of the concrete floor, we decided we’d like a little extra cushion underneath… so we purchased the premium moisture guard with padding built in. We had originally discussed this option with the Lowes employee and he had agreed that this was a viable option for us.
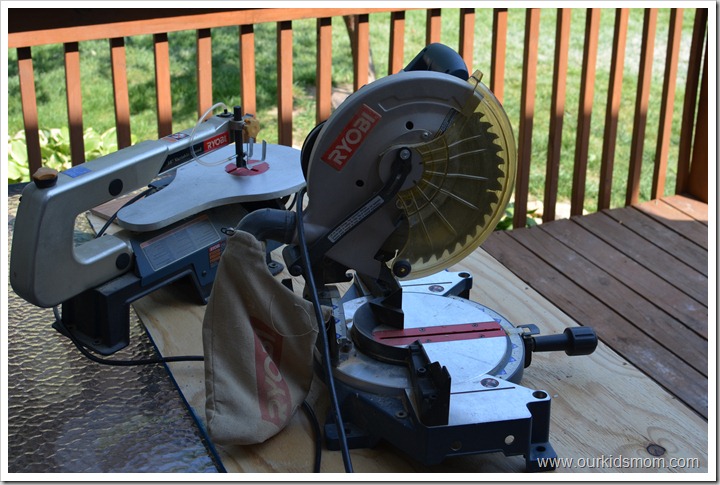
With a little help from his power tools, tape measure and patience my husband made easy work of the installation. The pieces were easy to lay out and install. Going from right to left the first row went in quickly. The next row was a little more complicated, but still easy. Taking the board and placing it in the ridge at an upward angle, he wiggled the board until it butted up to the board next to it and then slowly pushed down to put it in place (wiggling and adjusting in the process). You know the board is in place when you hear it “snap”.
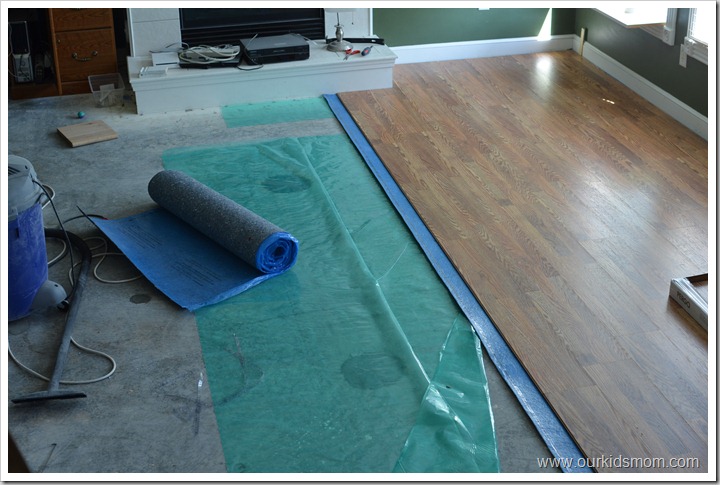
Here you can see a few of the rows already installed. The most time consuming part of the process up to this point was cutting the trim to fit properly around the fireplace mantel. Fortunately it doesn’t have to be exactly precise because we will be placing quarter round in the edges to finish the floor.
The lighter blue/green material is the moisture guard sent by Pergo to use. We decided to still use it along with the padded moisture guard we purchased for extra “insurance”. This was an easy decision for us because when we pulled up the old floor we did notice quite a bit of moisture damage to the previous moisture guard. We figured a little extra protection where the new holes had been drilled would bring us piece of mind.
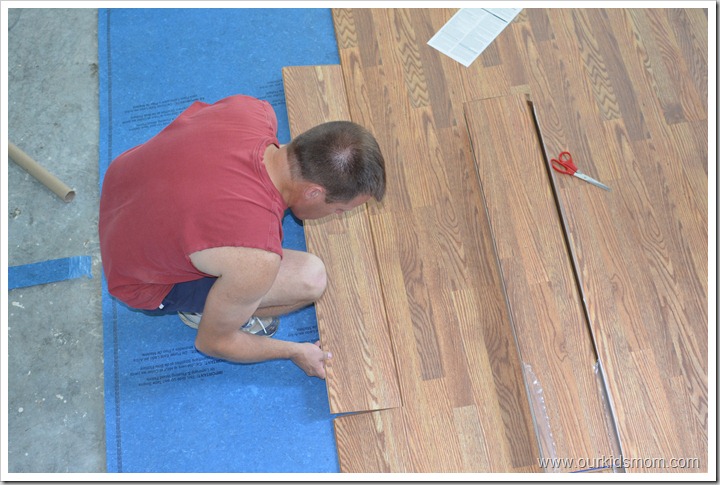
It took my husband about nine hours (a long afternoon) to finish a bit over half of the 345 square foot room. He said that the pieces snapped together easily and he loved that he didn’t have to worry much about patterns repeating. We’ve installed low end laminate before and it seemed that the patterns repeated quite often and we had to be mindful where we were placing each piece.
Here is where he stopped after a long afternoon of installing (about nine hours). The next day included installing the rest of the room and the trim. I plan to be back very soon with our room reveal once we have it trimmed and all put back together!
| For flooring Installation Orlando services, be sure to consult Magnet Flooring. |
Connect with Pergo:
Disclosure of Material Connection: I received one or more of the products or services mentioned above for free in the hope that I would mention it on my blog. I only recommend products or services I use personally and believe will be good for my readers. I am disclosing this in accordance with the Federal Trade Commission’s 16 CFR, Part 255: “Guides Concerning the Use of Endorsements and Testimonials in Advertising.” The opinions expressed in this post are entirely my own. Your experience with the product may differ from mine. The sponsor is responsible for prize fulfillment and will be shipping the winner(s) their prize(s). For more information read my disclosure policy.


The floor is beautiful. This is the second one I’ve seen during the installation. I’m noticing that the baseboards did not have to be removed. I am very interested in some kind of flooring for my house. I too have pets and am very concerned about such things as scratching and pet accidents. Even kid accidents concern me because I have grandchildren. I understand how a moisture barrier would work to keep moisture from getting to the floor from beneath. What keeps moisture from a spilled drink or a pet accident from seeping in and settling underneath the floor and causing damage? Great Looking product!!
Oh my goodness Heather!! It looks amazing already! I want to redo my living room and get rid of the carpet!! This makes me want to go out and get started on it right now!! Can’t wait for the reveal!
Hi Heather,
Inspirational !! We have a 35+ year old home that has hardwoods throughout except entry hall, baths and kitchen. Our Kitchen has vinyl and we have looked and looked at Pergo for it but always loose our nerve at the last second. After reading and, more importantly, seeing this installation, we are off to Lowes! Our kitchen is 9′ by 21′ (with an eat-in area in the 9′ end). Thanks for the encouragement.
That is beautiful! You will love it. Both of my daughters have it in their homes and it hold up awesome. You just have to becareful near the door where a lot of moisture comes in. Thanks for sharing.
wow i love flooring so much better then carpet, much easier to keep clean