Springfree Trampoline Assembly and Safety Features
Disclosure: This post was written in conjunction with the Springfree Trampoline Ambassador program. We were provided a trampoline for review. All opinions are 100% our own.

We have had a trampoline in our backyard for just over 10 years now. We were in the process of finding a replacement for our current trampoline (our second) because I felt it was becoming even more unsafe than when it was first purchased. That’s why I was thrilled when Springfree Trampoline asked OurKidsMom to be an ambassador. Over the next year I will be sharing my thoughts on the installation (today), safety, as well as winterizing tips and eventually a trampoline giveaway!
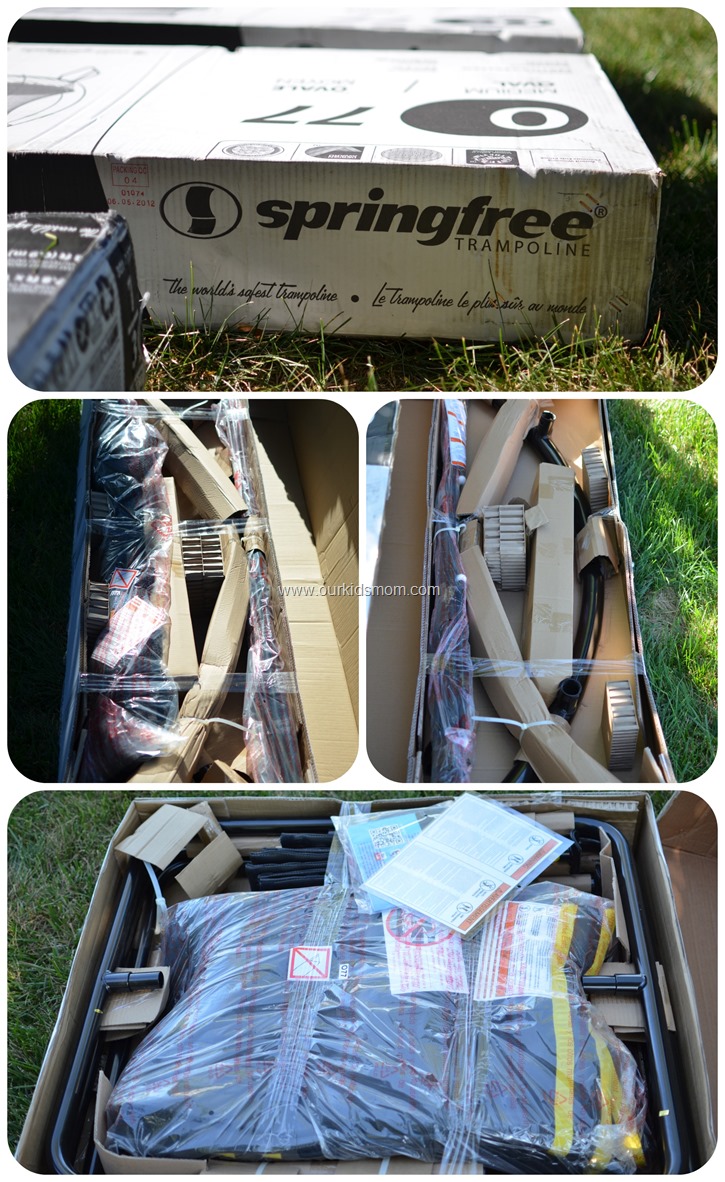
We were sent a Medium Oval O77 Springfree Trampoline for our children’s use. To our surprise, it arrived in these three rather unassuming boxes!
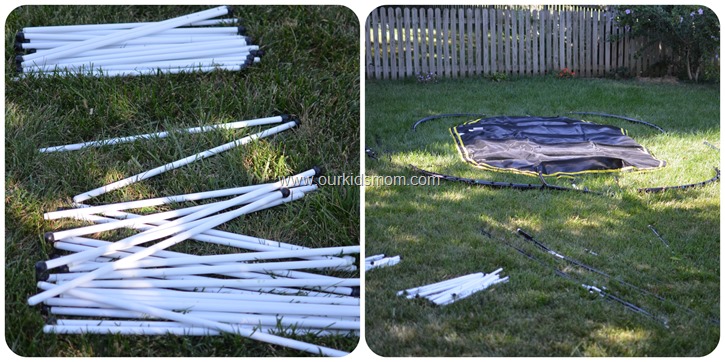
As we opened the boxes, we found the instructions and began to remove all of the pieces from the box and lay them out in the yard for inventory. When we removed the rods I stood and inspected one for a minute or two… in complete and total awe that something so unassuming would take the place of and even work better than springs.
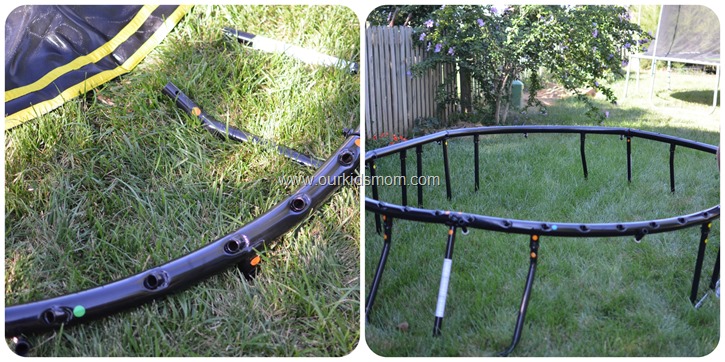
The first step of the assembly is the frame. Springfree made this as simple as possible for us with color coded stickers. After securing the round portion of the frame we matched up the colors on the legs with the colors on the frame and then secured them. As we felt this was a little too easy, we double checked the directions to make sure we had everything where it was supposed to be, then tightened it all down.
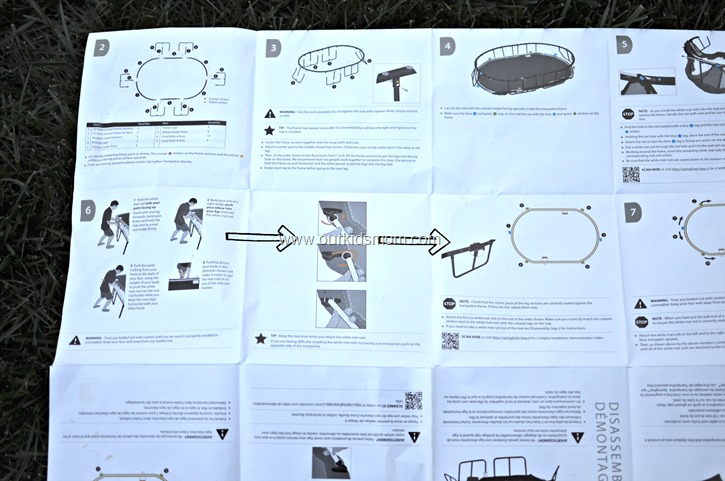
This is the part of the assembly that we got a little confused. The instructions are laid out to read left to right, like a book. Each step is numbered, but as you can see in #3 and #4 the boxes below them are not numbered. As my husband was reading them, he though that they were a continuation of step 3 and 4.
We weren’t left confused for long, though. Look at the 3rd box, 2nd row. See that little QRC code? We scanned that with our smart phone, which lead us to a video for that step. It turns out that we were correct reading left to right. What we did wrong was jump down a box… step 6 is the multi-step process that reads left to right. It was a light bulb moment for us (and those arrows on the paper… I put them there, but highly suggest they be added in at the factory level)!
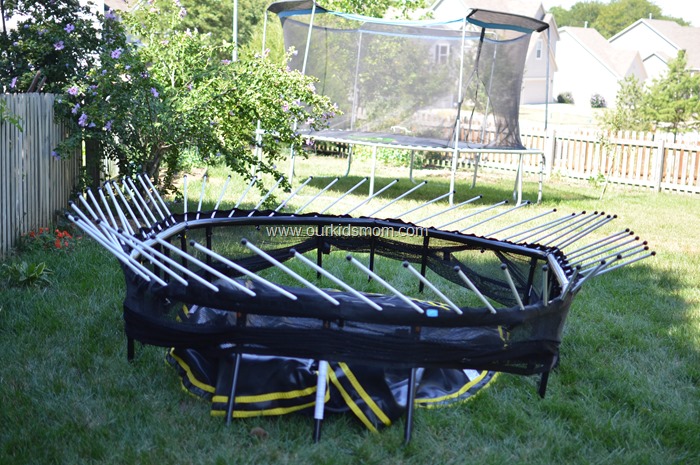
Once the order of the steps was cleared up the rest of the assembly was clear in our minds. With the mat inside the frame and the netting outside we easily inserted the poles through the netting and into the frame.
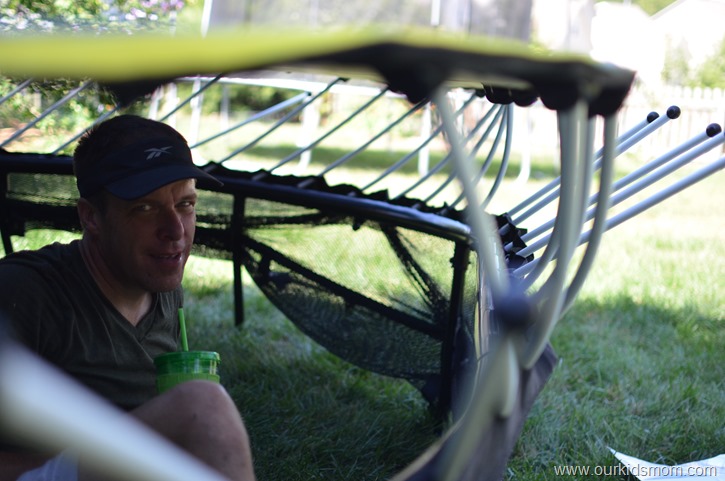
The next step was to attach the mat to the rods. The process looked simple enough, and the hints provided in the video we watched from scanning the QRC code made it look easy peasy. Our first few rods snapped right in, but it soon became harder to do as the resistance grew tighter. The video also mentioned having someone pull them in from the underside of the trampoline, which is the method we chose (and worked for us).
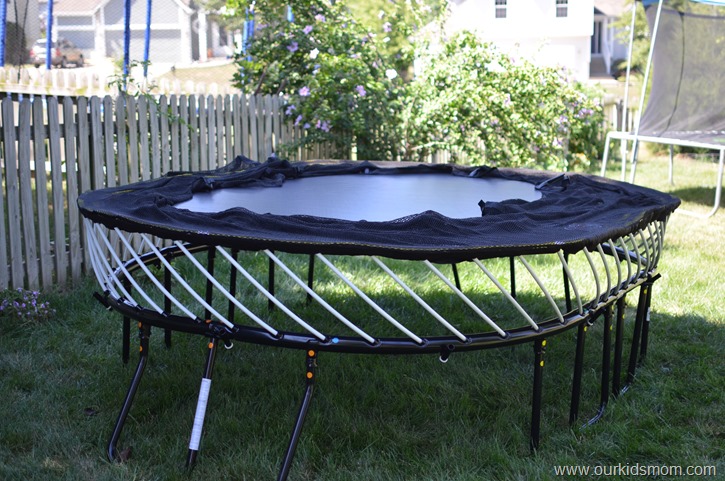
Once the rods were attached properly we gently brought the netting to rest on the mat. At this point my husband and I both stood and stared in awe for several minutes. It was still crazy to me that these rods were going to hold someone up to 250 pounds while jumping (safely).
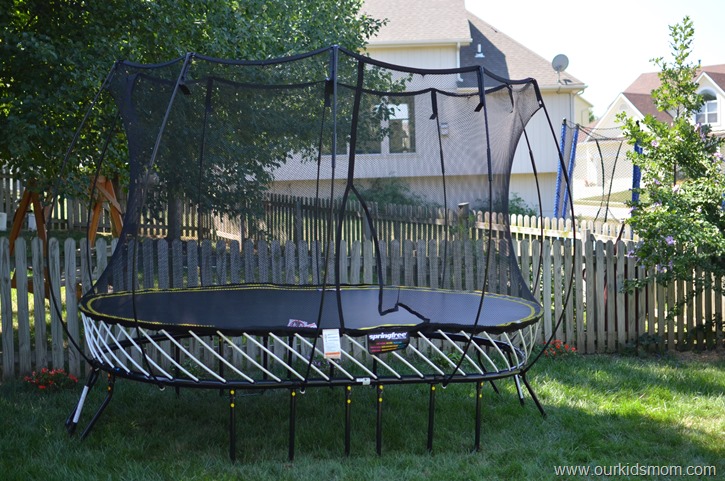
The final step was to insert the net supports through the loop and pocket at the top of the netting and into the slots in the frame.
*** Here is something we learned after our installation was complete ***
Apparently we did not have our flexible composite rods (for the netting) all the way into the pocket at the top of the netting. We couldn’t figure out why they kept popping out when people would jump. So with two people we had someone hold the netting stable while the other person pushed the support up through the loop and into the pocket. Then with a tiny bit more force it went all the way to the top of the pocket (ours made a little pop sound), which we hadn’t done before. We slid it in, but not that far.
The entire installation process took us two hours from start to finish. This included our mix up from reading the instructions wrong. I would say that this was definitely a two person install. I know without a doubt that I would not have been able to put the mat on the rods by myself and there were several other instances a second set of hands would have been handy. I took video during our assembly process so that you could laugh at us (and hopefully learn from our mistakes). I’ll attach it at the bottom of the post!
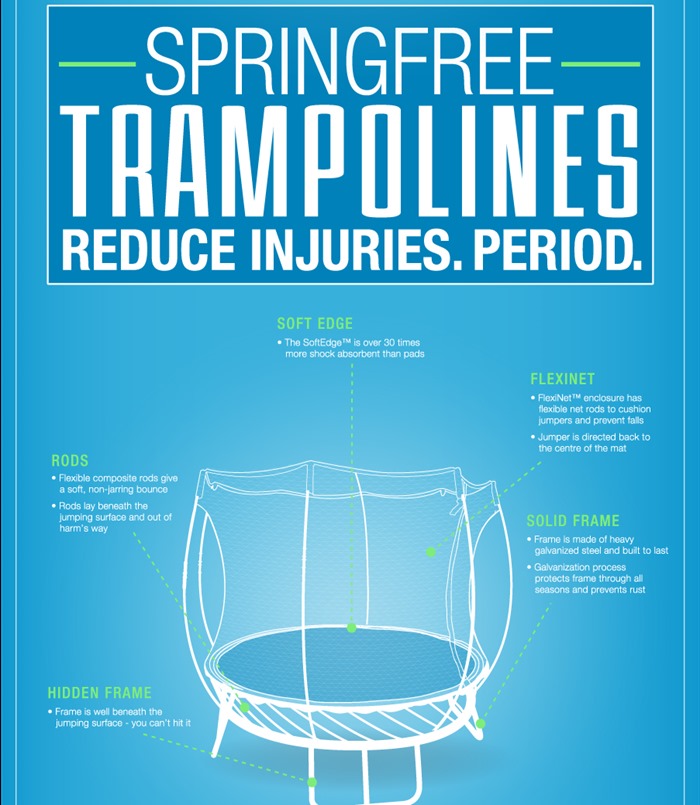
Safety is a huge priority when it comes to my children’s toys and playground equipment.
The infographic above shows all of the extra safety features that come with a Springfree Trampoline:
- A hidden frame that you cannot hit while jumping
- Flexible composite rods that give a soft non jarring bounce and are located beneath the jumping surface and away from harms’ way
- The SoftEdge is over 30 times more shock absorbent than pads
- It features a FlexiNet enclosure that features flexible net rods to cushion jumpers and prevent falls. If a jumper were to fall into the net they are directed back to the center of the mat
- A solid frame made of solid galvanized steel and built to last. The galvanization process protects the frame through all seasons and prevents rust.
Connect with Springfree Trampoline:
Take a few minutes to watch us assemble our trampoline in fast motion!
Disclosure of Material Connection: I received one or more of the products or services mentioned above for free in the hope that I would mention it on my blog. I only recommend products or services I use personally and believe will be good for my readers. I am disclosing this in accordance with the Federal Trade Commission’s 16 CFR, Part 255: “Guides Concerning the Use of Endorsements and Testimonials in Advertising.” The opinions expressed in this post are entirely my own. Your experience with the product may differ from mine. The sponsor is responsible for prize fulfillment and will be shipping the winner(s) their prize(s). For more information read my disclosure policy.


This is a really nice trampoline and this is very good exercise to do. I like this trampoline because it looks easy to install. When it turns into winter, you do bring it in the house? If left out in the weather I bet it will be ruined.
Hi Julie! I will be posting a winterizing post in December. They do sell covers for them to protect them from the cold/snow.
This looks great and really high quality. I think I’d like to have one for myself for the exercise.
Awesome review. I have been looking at getting a springfree trampoline for a while. Thanks for sharing.
I love that the rods look so much safer than the old spring style. That is one of my big concerns about getting a trampoline for our family is that fingers would get caught on them… love that the instructions include a video QR code – what a good idea!
We used to have a trampoline but don’t anymore. We should really look in to getting one of these.
I am in absolute love with this trampoline!! I have wanted to get a replacement for our trampoline! It is wearing, and the pads are completely gone as well as the net. I just don’t feel like it’s safe at all and I have a heart attach every time my kids jump on it. I love the safety features of this trampoline. Love it!
It looks like my post didn’t go through, but this does look like a great, safer trampoline!
Would you say that the size of this particular model is adequate for an 8 and 9 year old? We’re trying to decide between this one and the large oval. Thanks!
If you are wanting to allow them to jump together (which is not suggested), then no. Again, not recommended but I allow Emma (almost 7) and Ethan (5) to jump together and it’s tight. HTH!
We have a springfree trampoline, I got the company to send someone out to install it, after watching him I am glad I did well worth the money as my hubby isn’t handy! ?
We live in Australia so snow isn’t a worry but we do have harsh summers and it’s been fine for over five years now.
I have installed a soaker hose on the top which turns it into a wet tramp but daughter who is 11 loved it.
I just find the wheels hard for me to use and have to get my hubby to move them and take them off.
How do you get the netting rod out of the leather pocket on dissemble? Did you figure this out?!