Releasing The Queen Bee | Our Almost Catastrophic Mistake | #BeeKeeping
I recently shared with you a post on installing bees in a top bar hive. This is our first package of bees and we are very new to beekeeping but are eager learners.
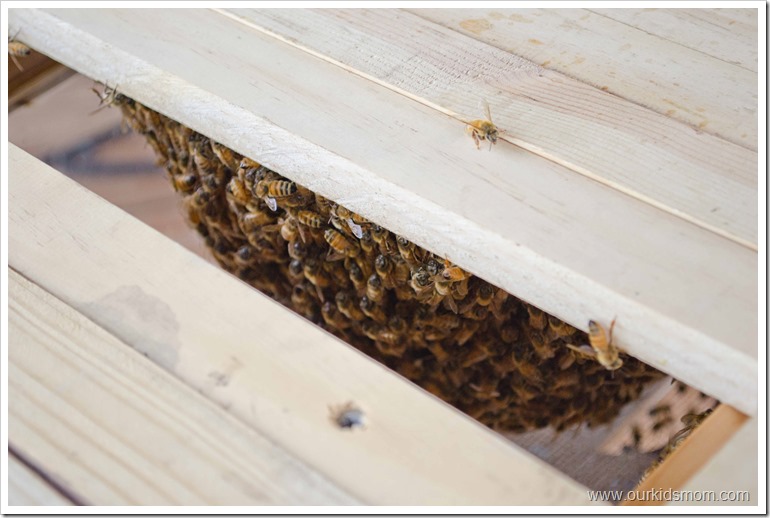
I wanted to share with you today how we released our Queen bee.
If you are a first time beekeeper as well, be sure to read through to the end as I will share with you what we did wrong and how we fixed it.
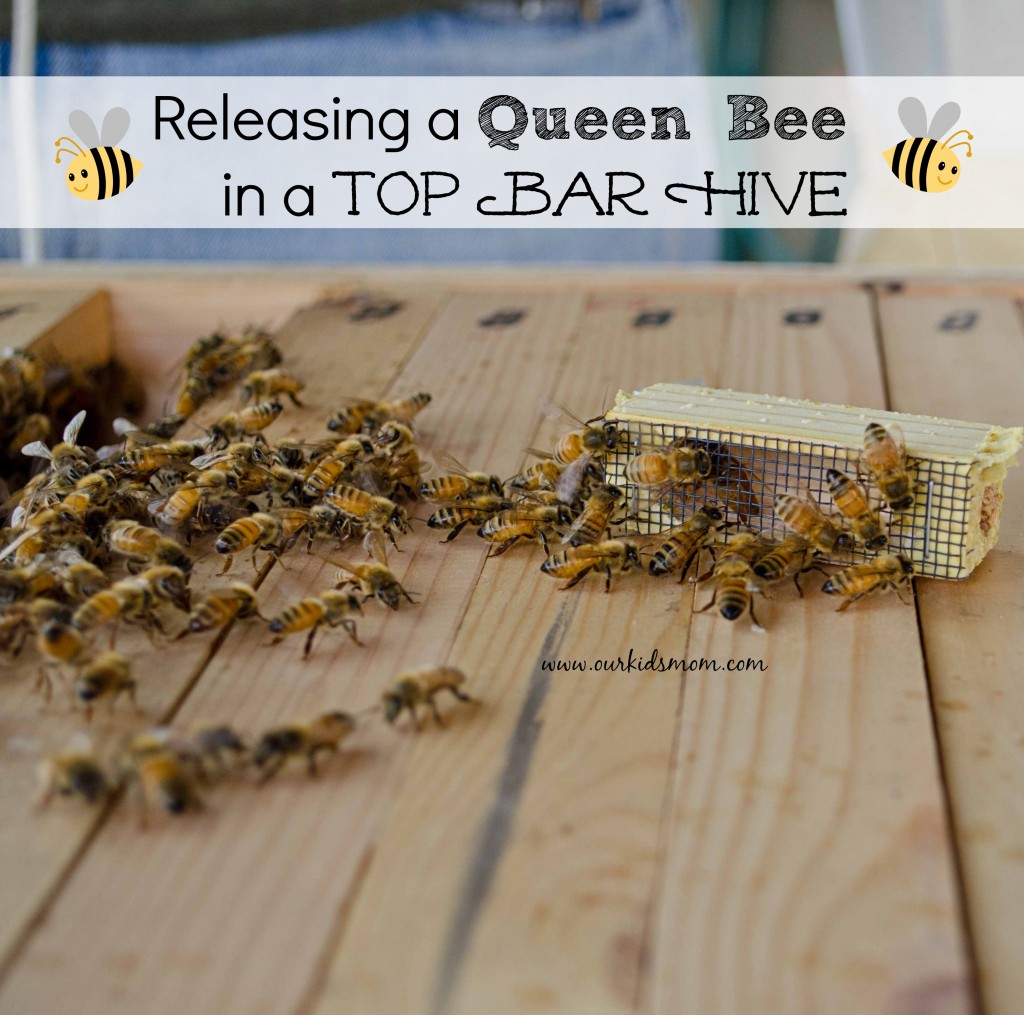
The photo above was our first peek in through the top of the hive since installing our bees.
Because we had heard different methods of releasing the queen bee, we decided at the end of 24ish hours that it was time to release our Queen. They had been caged together for several days and the nurse bees were attending and not pecking at her. We also thought that this was a good way to go because we received our package late in the spring and we wanted our bees to get a head start on their comb.
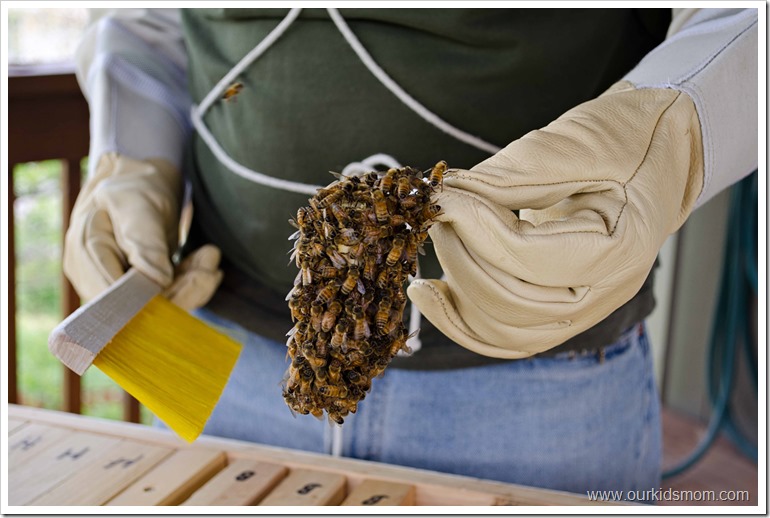
Above you can see the nurse bees clinging to the Queen cage. Without these girls our Queen would die. They tend to her every need.
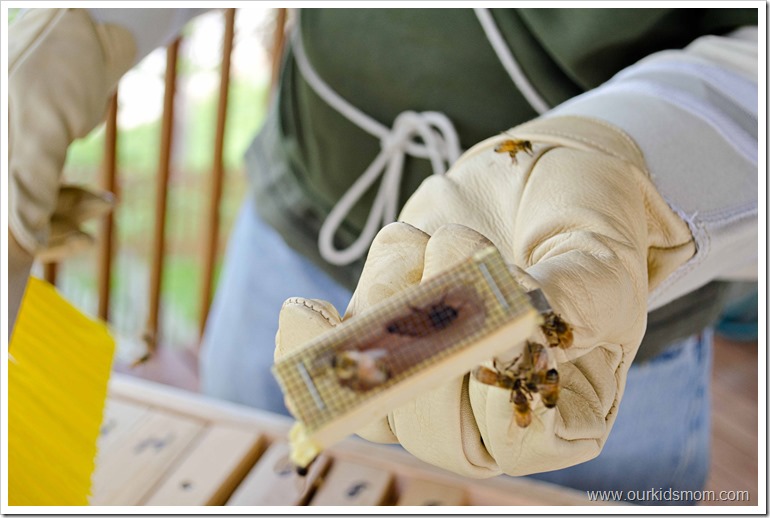
I tried to get a good photo of Queenie for you, but alas the black mesh made it a difficult task. Here you can see the size difference.
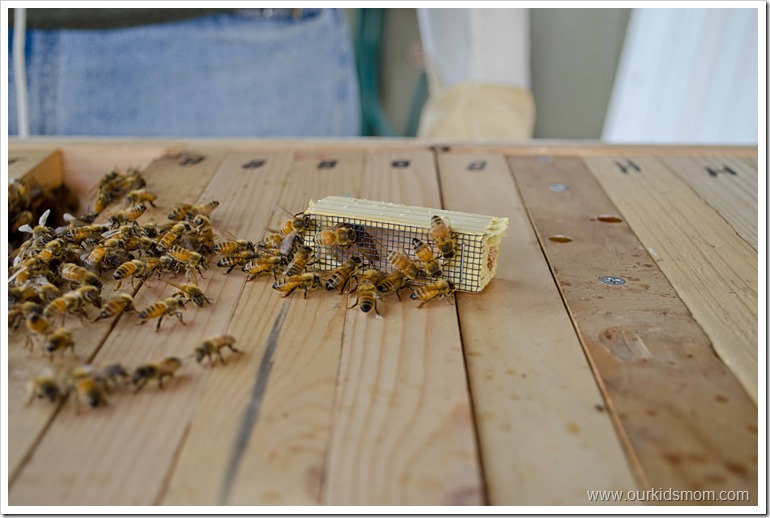
Again the nurse bees coming back to her after we brushed them off.

At this point there was a lot of activity inside, but no comb. We removed a few bars so that we could reach inside to release the Queen.
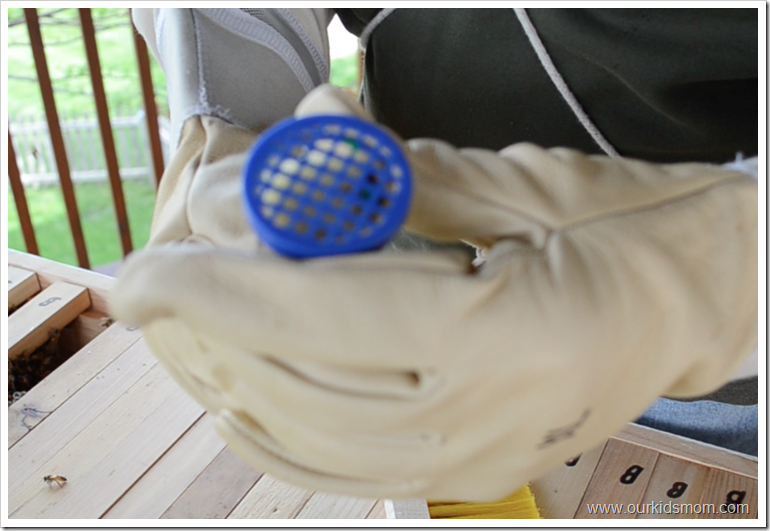
As I was needed to help with the marking of the Queen, I did not get any photos. I snapped this shot (sorry it’s blurry) from the video captured during the process. The complete video will be at the bottom of the post.
After removing the cork from the Queen cage we gently shook her out into the plunger device to mark her with a paint pen (please only use pens purchased from a bee supply as they will have bee safe markers). The plunger has a soft sponge on the end so you reduce the risk of crushing her when you get her close to the crosshatch top. Using the marking pen we painted a green dot on her back so that we could easily find her when we get back into the hive.
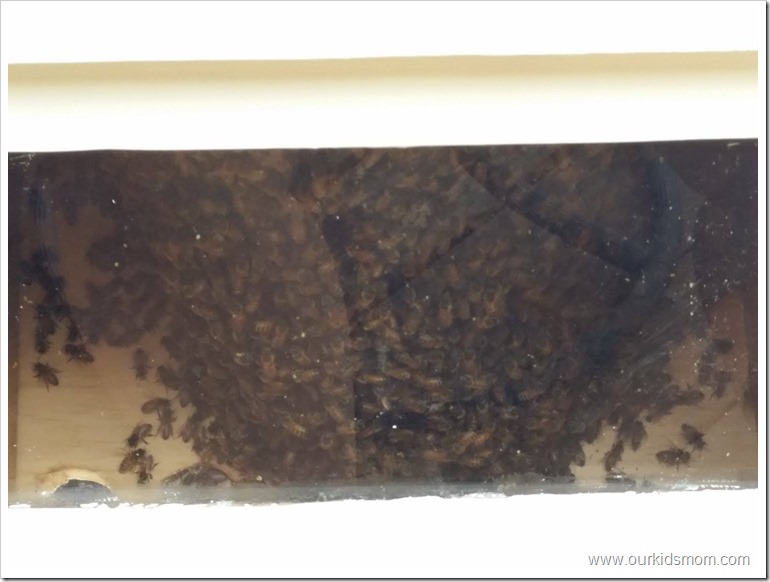
Then we put the plunger device into the hive, removed the end and gently shook her in with the other bees.
After putting the bars back in place we watched from our viewing window (fabulous to have and only available in Top Bar hives) how the bees were reacting to her.
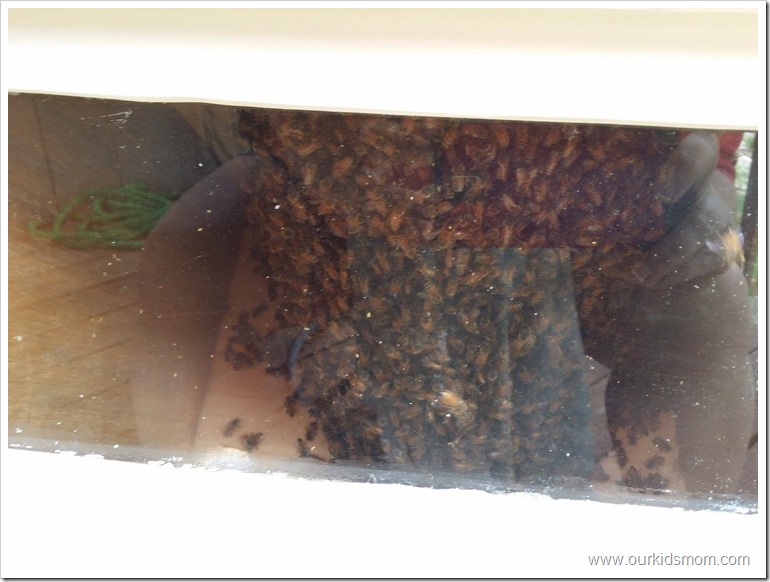
They were following her around and not attacking so we felt safe in closing up the hive and letting them get to work. The photo above was shot the next day mid afternoon. It looked like everything was going well and we were excited.
My husband came home about 2 hours after I took the photo above and he wanted to peek at the bees as well. Upon opening the window he found AN EMPTY HIVE. It was almost completely empty with just a few stragglers that were out hunting and came home to an empty place.
A feeling of doom and dread came over us.
WHERE on earth did they swarm to? WHY did they swarm when they have a nice big brand new hive to set up shop in?!
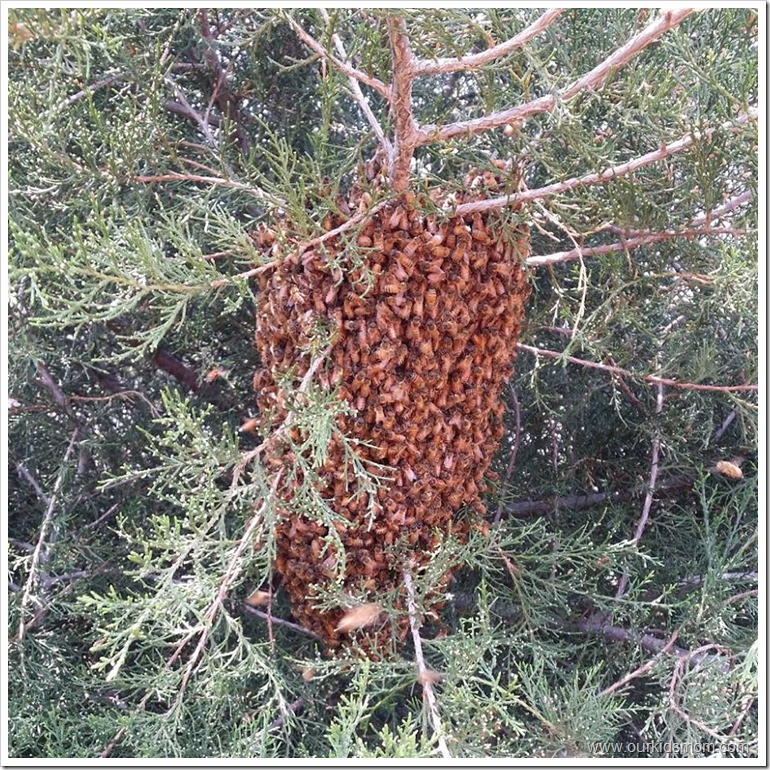
After a quick walk around our property my husband found our bees in a swarm at the edge of our property. We had hoped to get swarm retrieval experience this year, but not with our own bees!
Thankfully they were low enough that we felt confident in retrieving them.
My husband took a cardboard box, cut out circles on each side and taped mesh inside the box over the holes for circulation. We cut away all of the branches in our way and slowly slid the box under the swarm. A quick snip of the branch and the bees were in the box… and the box was closed and taped shut.
Before we began the retrieval process we decided to call a local beekeeper we had met at a recent meeting. Thankfully he was more than willing to come over and help us decide what we did wrong and what to do to fix it.
WHAT WE DID WRONG:
After a short conversation we learned that the 3 day wait to let the Queen out was more than just protecting her from being attacked… it was also to give the new hive time to smell like “home” to them. With her early release, the colony was free to follow her and leave to find a place that smelled more like home to them.
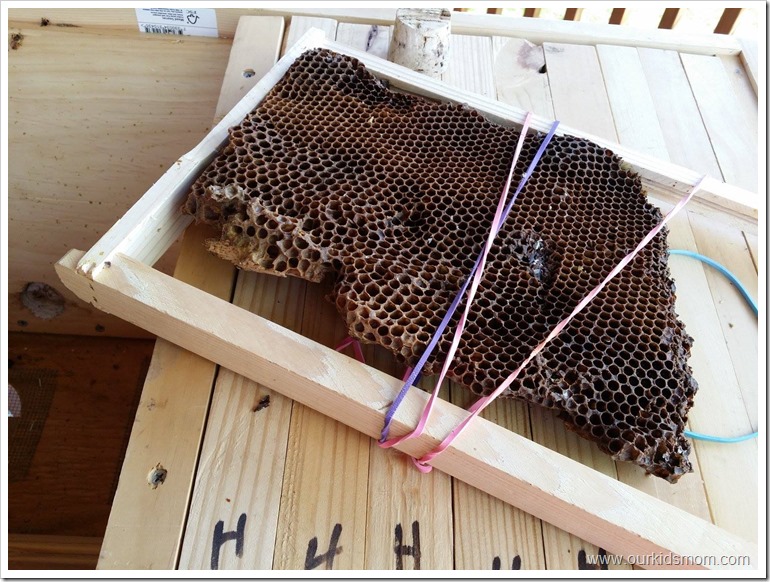
The beekeeper had just been tending to his own colonies, so he had his supplies handy. The frame above is a section of old comb that he saved for purposes like this. It is dark because it is used… not because it is dirty.
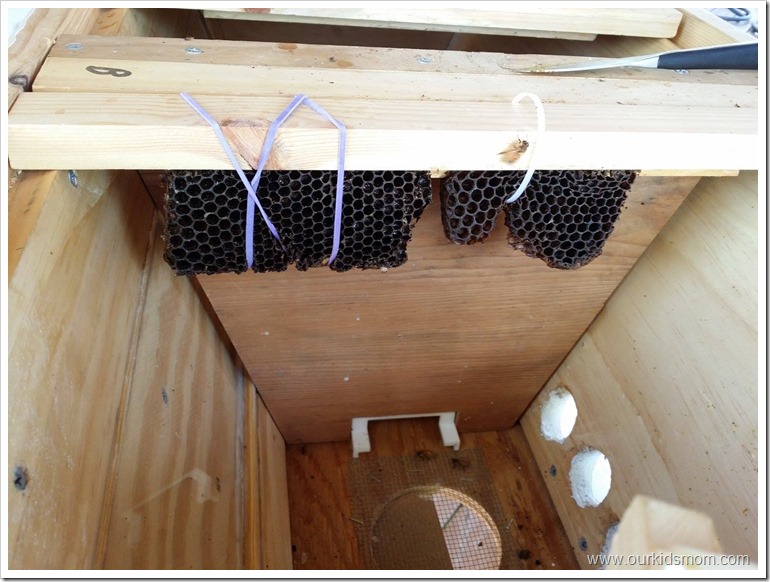
He cut off a small amount of comb to attach to two of our bars and fastened them with rubber bands. We were instructed that the bees would add on to that comb and eventually chew their way through the rubber bands and drag it out of their home.
He also took out a bottle of Lemongrass Oil, dipped a Q-Tip in it and “painted” a little up and down each side of the hive.
According to Wikipedia, “Lemongrass works conveniently as well as the pheromone created by the honeybee’s nasonov gland, also known as attractant pheromones. Because of this, lemongrass oil can be used as a lure when trapping swarms or attempting to draw the attention of hived bees.” (“Beekeeping/Guide to Essential Oils”. Wiki Books. Retrieved 7/8/12.)
Then it was time to re-install our bees. Unfortunately we didn’t know where the Queen was in the box so my husband and the beekeeper turned the box over and used the dump method in hopes of getting her and the rest of the girls back in the hive. We then restricted our entrance to the point that only 1-2 bees could come in and out at a time and made sure the sugar/water feeder was full so that they had plenty to eat/drink.
Then we waited.
The activity around the hive seemed promising. We watched as worker bees came home with their sacks full of pollen… leaving a little yellow trail on the landing pad of the hive.
We waited nearly a week. We wanted to be sure they had a good head start before opening the hive up.
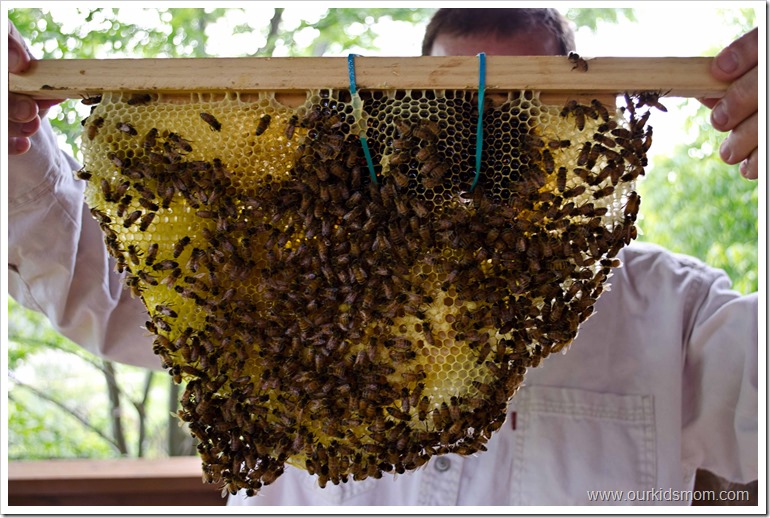
SUCCESS!
Above is one of the two bars that a piece of old comb was applied to. You can see the dark area and then the fresh yellow comb around it.
If you look closely you can also see capped brood.
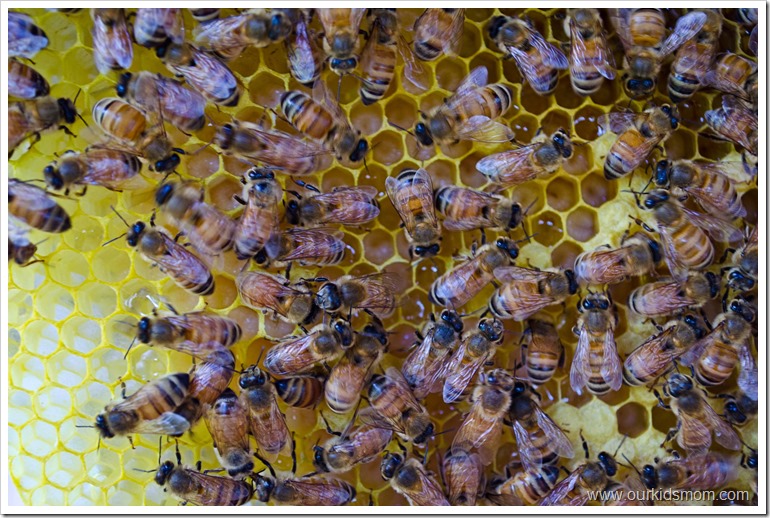
A close-up shows us even more. We indeed had a Queen and she has made this hive her home.
The small wormlike creatures are brood, or baby bees. I didn’t see a place to snap a shot of eggs, but the wormlike stage is next, where they are fed Royal Jelly by the worker bees (that shiny stuff in several of the holes). At the end of their growing process they are capped off and when they are ready to emerge the chew through.
Talk about relief! Not only did we succeed in capturing our own colony of bees when they swarmed, we thankfully were able to save our Queen, get them to accept our hive and they are now re-populating!
Have you ever considered a hive?




Awesome for you guys! Bees freak me out though!
This is so amazing, Heather. I love reading about the process and seeing the pictures. The hive is absolutely fascinating!
Love reading this!
I find all of this so fascinating!
WoW amazing process. I guess it’s all a learning process, you’ll have a hiccup or two but it will make you great bee keepers. Also I found it really interesting about the Lemongrass. It’s so awesome how you guys are doing this. I wish my family could do something like this, the pictures are so cool.
You may have read about the recent bee disaster in Newark, Delaware where millions of bees were released when a truck carrying them to Maine had an accident? That was right now the street. talk about scary!
The pics are so interesting to see and I’ve enjoyed reading about your journey with your newly acquired bees. I’m not a big fan of bees, even honeybees (they scare me) but I find the bee keeping process quite fascinating. I’m looking to the follow-up posts.
This is so friggin cool!! I was just catching up on your Facebook pics of the bees and didn’t realize you did videos too!